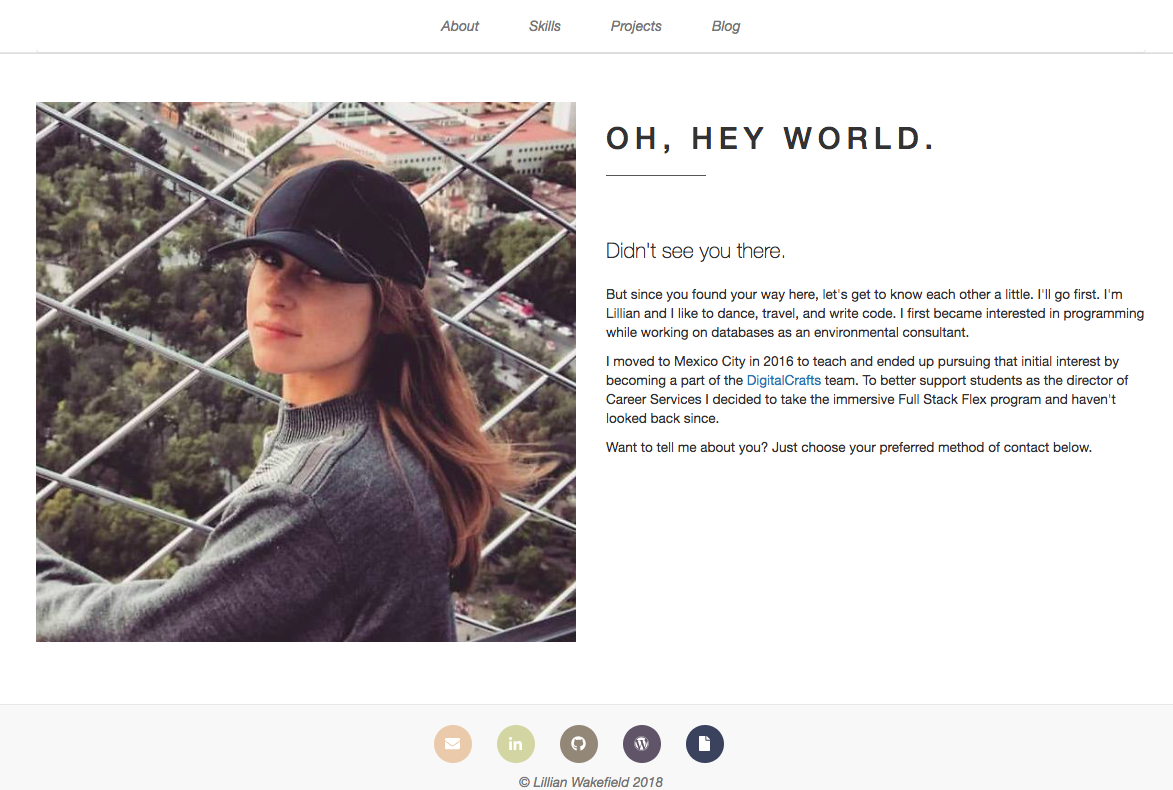
As explained in my last post, I decided to redo more portfolio from HTML and vanilla JavaScript to a React framework, and I finally finished! Even though I had done everything once, I ran into a lot of problems updating the code, and decide to document my struggle component by component.
The original site: http://theoffseasoner.com/
React version: https://theoffseasoner.herokuapp.com/
index.js
Nothing to see here, except maybe that this is where I set up my React router.

App.js
React currently supports Bootstrap 3, a framework that makes things responsive to different screen sizes (such as mobile). Fontawesome is a library of free icons that makes life easier. I had to include Bootstrap and fontawesome stylesheet links in my App.js file to use both throughout my app.
I wanted a footer that was stuck to the bottom of the screen as the user scrolled through a page. With regular HTML you just need a Bootstrap class, but with React it wasn’t working. Turns out, I needed to include my footer component outside my body content div in my App.js file. After much pain and struggling, it was as simple as that.

navbar.js
I kept running into a problem with React router. I wanted to set my homepage as my about page, otherwise, the body is blank when the user first navigates to my app. But whenever I set the route, the about component would be displayed no matter where I navigated to. Turns out I needed to use exact={true} to avoid this problem, as so:

I wanted to make my navbar responsive on mobile, so I imported react-bootstrap and struggled with a warning for a long time. It was telling me I can’t nest a tags, since I was using React router links inside NavItem components. The workaround for this one was to include a component class of ‘span’ for each one.

about.js
With React, everything is an import statement. My first hiccup came when trying to get my images to show up in React. Instead of referencing the image with a source tag like HTML, I had to import it from the source file and use that object in my JSX, like so:

skills.js
This was surprisingly the easiest page for me to do, I was able to use devicon in the same way for React as with my HTML. I used flexbox for the header and everything else was the same as my original HTML code.
projects.js
Once I figured out how to use flexbox with React, this page was also a quick and easy translation from HTML to JSX.
blogposts.js
This was the hardest part of building out this site, and something that still isn’t completely done. I used Axios to make a get request to the WordPress API to access my posts from WordPress. Because I used an unauthenticated version, anyone accessing the site will get a warning before loading the posts.
I also had to include a div around each blog post for the flexbox Row to avoid getting an error that the Row was empty, which was not intuitive.
articlepreview.js
The formatting from the API call wasn’t ideal for all components. I used slices to format the date of the blog posts from the API call and replace to remove the Unicode from the excerpts.

Leave a Reply